Automatically Injecting Drivers Into a Windows 10 ISO
Using a batch file, we can create a Windows 10 ISO file that contains all the drivers our device will need.
I was reading a few articles on how to inject drivers into a Windows image, when it occurred to me that there is a much more lazy, and possibly efficient, method to injecting the drivers you want into your install.wim and boot.wim files. I'll be using the articles for reference, so I'll go ahead and link them now in case you want to check them out. They really helped me get set up for this.
STEP ONE:
Download and install the Windows ADK. You can find the download link at this link: https://learn.microsoft.com/en-us/windows-hardware/get-started/adk-install
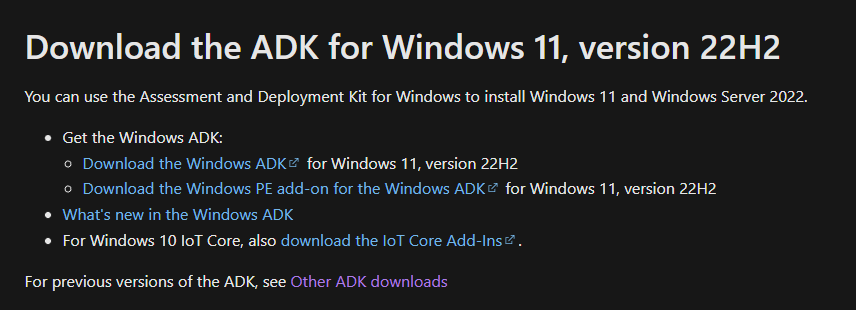
Click on "Download the Windows ADK" to download adksetup.exe. Launch the executable once it is downloaded.
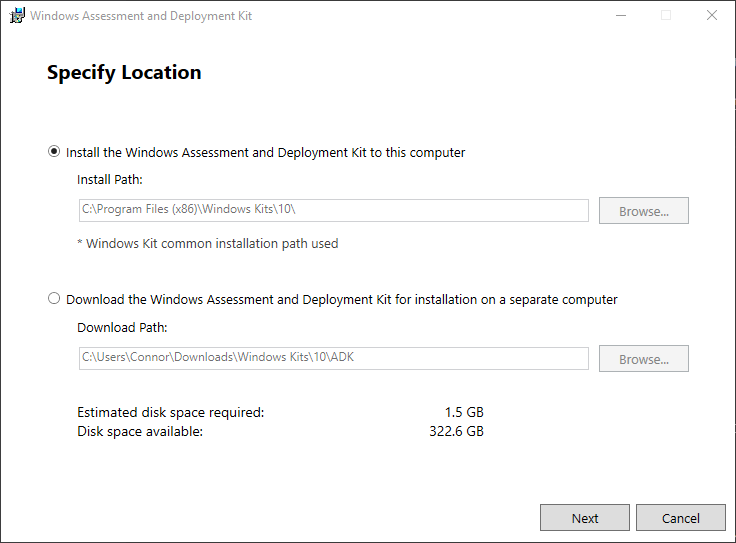
Leave the install path set to install on this computer, and click Next
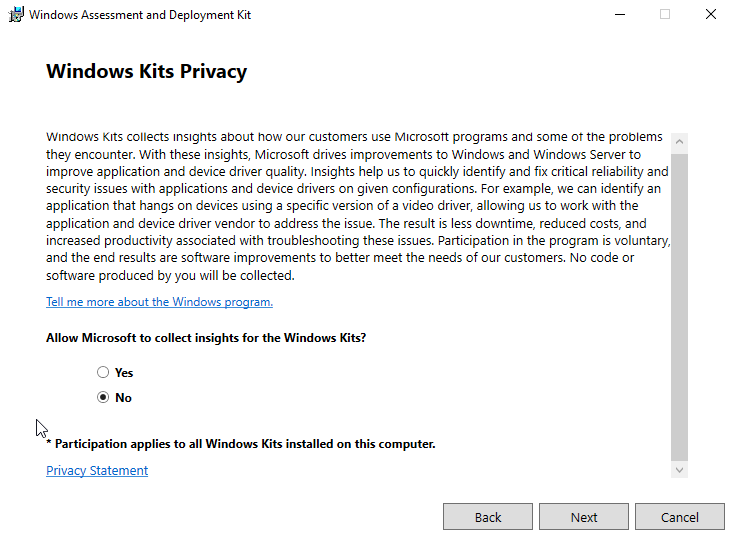
Choose whether or not to let Microsoft collect insights, click Next
Accept the license agreement
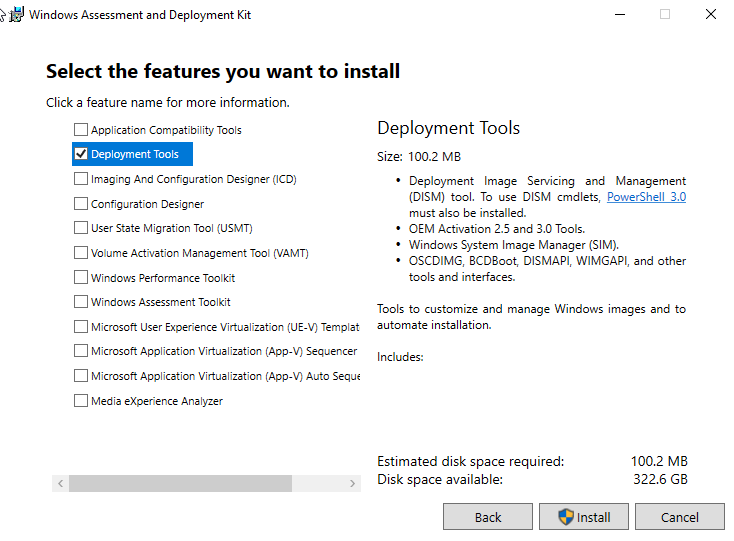
Check the box that says Deployment Tools, and click Install.
STEP TWO:
Create the following folders:
-
C:\temp\WindowsISO -
C:\temp\CustomISO -
C:\temp\drivers -
C:\temp\wim
Create this file:
-
C:\temp\inject-drivers.bat
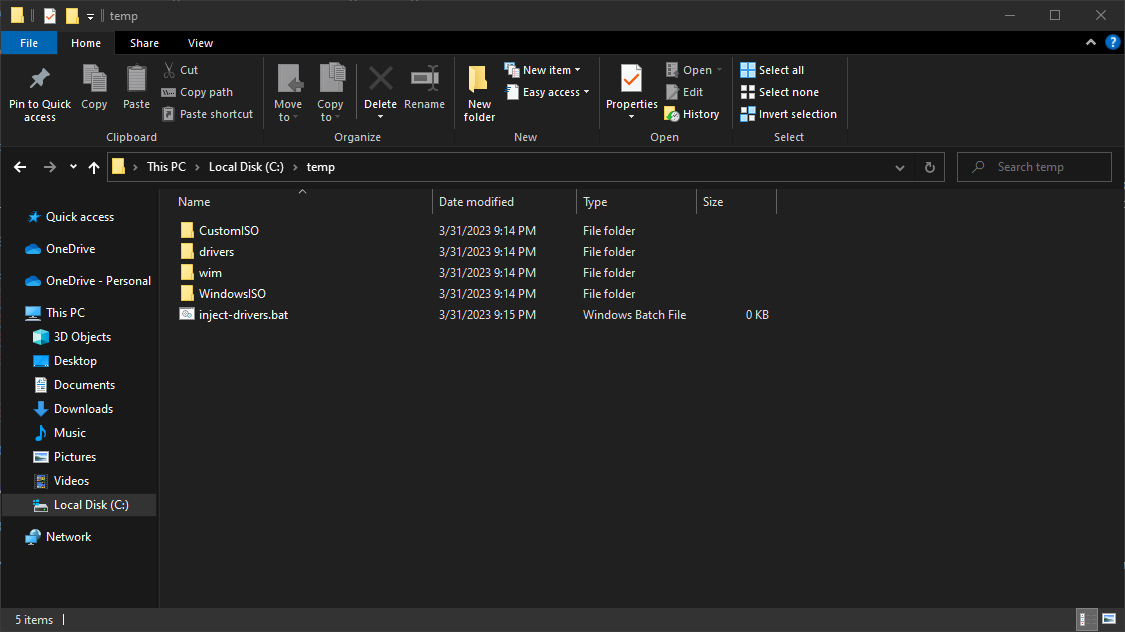
Your C:\temp directory should now look like this:
STEP THREE:
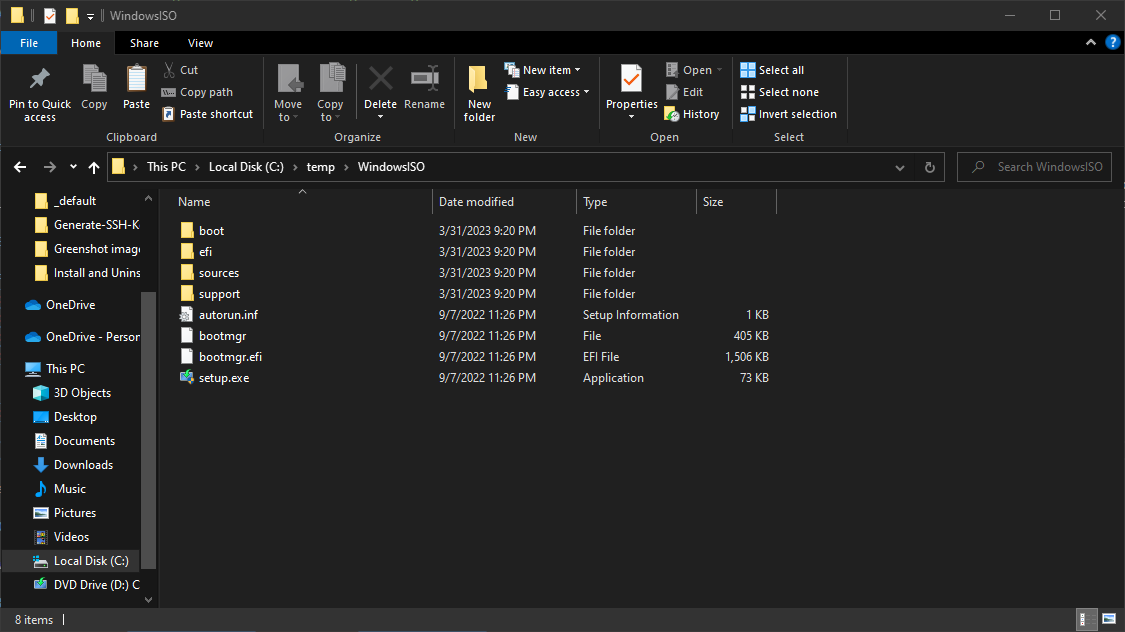
Mount a Windows ISO image and copy and paste the contents of it to the C:\temp\WindowsISO folder. Your C:\temp\WindowsISO folder should look like this when you're done:
STEP FOUR:
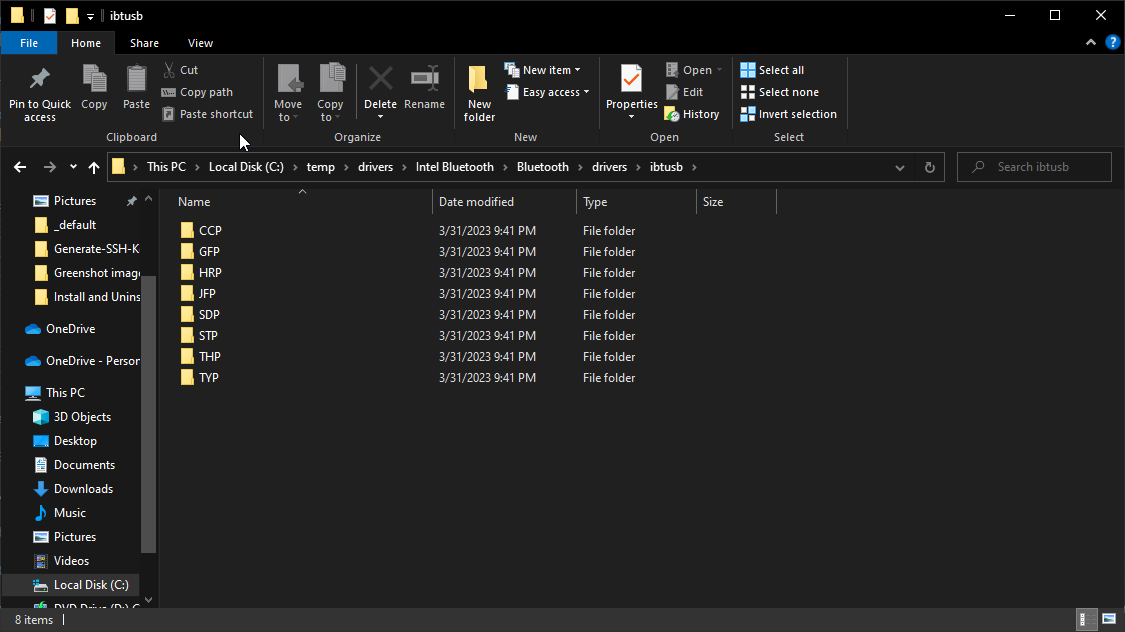
Put all the drivers you want to inject inside of the C:\temp\drivers folder. The C:\temp\drivers folder will be recursively checked for any drivers, so any folders within it, such as C:\temp\drivers\eMMC or C:\temp\drivers\WLAN will be checked.
In this example, I'm using a set of Intel Bluetooth drivers for my PCIe wireless adapter.
STEP FIVE:
Time to prepare the batch file. Open it up in a text editor and paste the following code into it.
 1@echo OFF
 2
 3Rem First loop injects drivers into all 11 indexes of install.wim
 4FOR /L %%i in (1, 1, 11) DO (
 5imagex /mountrw c:\temp\WindowsISO\sources\install.wim %%i c:\temp\wim
 6dism /image:C:\temp\wim /add-driver /driver:C:\temp\drivers\ /recurse /ForceUnsigned
 7imagex /commit /unmount C:\temp\wim
 8)
 9
10Rem Second loop injects drivers into both indexes of boot.wim
11FOR %%i in (1 2) DO (
12imagex /mountrw c:\temp\WindowsISO\sources\boot.wim %%i c:\temp\wim
13dism /image:C:\temp\wim /add-driver /driver:C:\temp\drivers\ /recurse /ForceUnsigned
14imagex /commit /unmount C:\temp\wim
15)
16
17echo "Driver injection has finished, creating Win.iso"
18
19oscdimg.exe -m -o -u2 -udfver102 -bootdata:2#p0,e,bc:\temp\windowsiso\boot\etfsboot.com#pEF,e,bc:\temp\windowsiso\efi\microsoft\boot\efisys.bin c:\temp\windowsiso c:\temp\customiso\Win.iso
20
21echo "Driver injection has finished and Win.iso has been created."
Save this file.
This batch file does all of the heavy lifting for you. It works like this:
- First loop:
- Mount a specified index (index of 1 to 11) of install.wim
- Use DISM to install the drivers located in
C:\temp\driversto the mounted image - Save the changes we made to the image, and unmount it
- Repeat until all indexes have been injected with the drivers
- Second loop:
- Mount a specified index (index 1 or 2) of boot.wim
- Use DISM to install the drivers located in
C:\temp\driversto the mounted image - Save the changes we made to the image, and unmount it
- Repeat until both indexes have been injected with the drivers
- Create the image:
- Use oscdimg.exe to create a new ISO with the updated install.wim and boot.wim files.
Now the whole reason we make a batch file instead of typing this out by hand is because mounting and unmounting these images takes quite a bit of time (~45s - ~2min) per mount and unmount. This is quite repetetive and boring, so we can run this batch file in the background and work on other tasks while waiting for this to complete.
STEP SIX
Go to the Windows Start menu and find the **Deployment and Imaging Tools Environment and run it as an Administrator.
Once the command prompt opens up, launch the batch file from within the prompt. If you saved it in the temp folder, type the following command:
1C:\temp\inject-drivers.bat
Once it starts, just let it run. Depending on the number of drivers you plan to inject, this can take quite a few minutes to complete. Once the batch script is done running completely, you will find a file at C:\temp\CustomISO\Win.iso. This Win.iso file is your new Windows ISO file. You can burn this file to a flash drive to create Windows bootable media that contains your drivers preinstalled.